Apache 2 Installation on Ubuntu: Step-by-Step
Install Apache 2 on Ubuntu with apt, start the service, open the firewall, and verify the default page. Part 2 of the Apache 2 series — clean setup before virtual hosts.
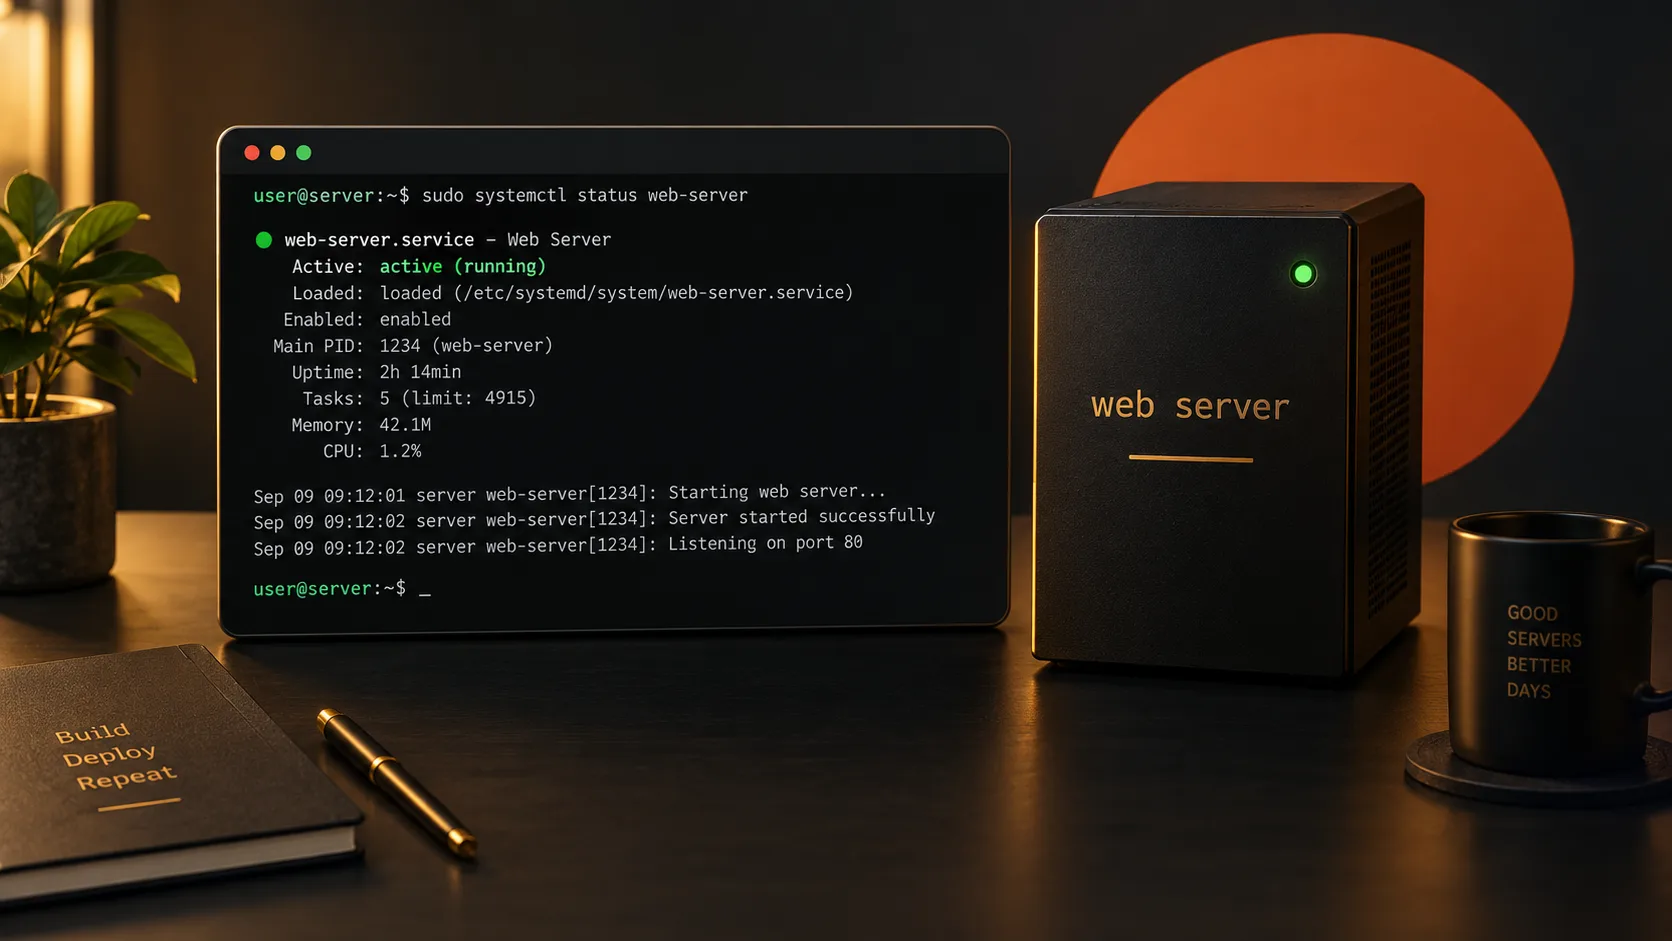
Quick Answer
Apache 2 installs on Ubuntu with sudo apt install apache2. Enable and start the service with systemctl, allow ports 80/443 in UFW if you use a firewall, then open the server IP in a browser. You care about this step before virtual hosts or Laravel — a clean install saves hours of “why is port 80 busy?” debugging.
Quick Facts
| Item | Details |
|---|---|
| Topic | Apache 2 Installation on Ubuntu |
| Category | Linux / Apache / Ubuntu |
What Is Apache 2 Installation on Ubuntu?
This is not “learn all of Apache.” It is getting the apache2 package on the box, running as a service, and proving it answers on port 80.
Ubuntu LTS (22.04 / 24.04) is what most VPS images use, so apt and systemctl match almost every tutorial. Part 1 covered the big picture — Apache 2 beginner guide. Here we only install and verify.
Why It Matters
- Broken installs show up later as failed reloads and mysterious 000-default sites.
- Port conflicts with Nginx are common on reused VPSes.
- Firewall closed = “Apache works on localhost, dead from the internet.”
How It Works
apt downloads Apache and default configs under /etc/apache2/. systemd starts apache2. The default site serves a page from /var/www/html until you add your own vhosts.
flowchart LR
  apt[apt install apache2] --> svc[systemctl start]
  svc --> port[Listen :80]
  port --> page[/var/www/html]
Step-by-Step Guide
Step 1: Update apt and install apache2
sudo apt update
sudo apt install apache2 -y
apache2 -v
You should see Server version: Apache/2.4.x.
Step 2: Enable the service and check status
sudo systemctl enable --now apache2
sudo systemctl status apache2 --no-pager
curl -I http://127.0.0.1
Step 3: Open the firewall and test from outside
sudo ufw allow OpenSSH
sudo ufw allow 'Apache Full'
sudo ufw enable
sudo ufw status
curl -I http://YOUR_SERVER_IP
If curl works on the server but not from your laptop, check the cloud security group (DigitalOcean/AWS) as well as UFW.
flowchart TB
  Install[Install] --> Status[systemctl status active]
  Status --> UFW[UFW Apache Full]
  UFW --> Browser[Browser → server IP]
Real-World Example
Fresh Ubuntu VPS. apt install apache2 failed to start: Address already in use. Nginx from an old project still owned port 80.
sudo ss -tlnp | grep ':80'
sudo systemctl stop nginx
sudo systemctl disable nginx
sudo systemctl start apache2
Default Ubuntu Apache page loaded. Install done — next post is virtual hosts, not more apt commands.
Pros & Cons
Advantages
- One apt line; Ubuntu packaging is predictable.
- systemd makes start-on-boot easy.
- Default site proves networking before you touch vhosts.
Disadvantages
- Default site can later “steal” Host headers if you forget to disable it.
- Cloud firewall + UFW both need opening — easy to miss one.
Best Practices
- Use Ubuntu LTS images for project VPSes.
- Confirm
apache2 -vandsystemctl is-active apache2. - Check port 80 before install on reused servers.
- Allow SSH before enabling UFW so you do not lock yourself out.
Common Mistakes
- Installing without
apt update— odd package errors. - UFW on, Apache Full forgotten — site dead from outside.
- Nginx still running — Apache never binds :80.
- Testing only with curl on localhost.
Frequently Asked Questions
What does installing Apache 2 on Ubuntu mean?
Installing the apache2 package, starting the systemd service, and confirming it answers on port 80. Config files land under /etc/apache2.
How do I install Apache 2 on Ubuntu?
sudo apt update && sudo apt install apache2 -y, then systemctl enable --now apache2, open UFW for Apache, and visit the server IP.
apt install apache2 vs installing from source?
Use apt on Ubuntu. Source builds are for special needs. apt gets security updates with the rest of the system.
Do I need this if I use cPanel?
cPanel already has Apache. This guide is for a raw Ubuntu VPS you control with SSH.
Summary
Install with apt, start with systemctl, open the firewall, verify with curl and a browser. Fix port conflicts before you write VirtualHost files.
Series: Part 1 · Next: Apache Virtual Host.
Key Takeaways
- Ubuntu install is apt + systemctl + verify on :80.
- Check for Nginx or other processes on port 80.
- Open both UFW and the cloud firewall.
- Default page means the install worked — then move to vhosts.
Comments
0 comments · new ones appear after approval
No comments yet. Be the first to share your thoughts.
Leave a comment
Your comment will be reviewed before it appears.